
Clipping mask in Adobe Illustrator(AI) is a handy tool that helps graphic designers create clean and professional artworks effortlessly. Once you understand how masking works, you can enhance your designs in many different ways. Even though it isn’t difficult to master, beginners often find it tricky to understand how the tool works and how to use it in designs. Here’s a comprehensive guide to learning clipping masks in Illustrator, from the definition to step-by-step instructions on how to use the tool.
Table of Contents
What Is a Clipping Mask in Adobe Illustrator (AI)?
A clipping mask in Adobe Illustrator is a vector shape that determines which parts of the artwork are visible and which parts are hidden. The vector object used as the mask should always be placed on top of the content you want to mask. You can place as many objects as you like under the clipping mask, but the mask acts like a window—so only the artwork inside its shape will show through, while everything outside remains hidden. A clipping mask consists of two key elements:
- Clipping path: The vector shape that controls which part of the design is shown.
- Masked objects: The artwork elements that are concealed outside the clipping path.
Why Use Clipping Masks in Your Designs?
- Non-Destructive Editing: Keep Your Original Artwork Safe While Experimenting
One of the biggest advantages of using clipping mask in Adobe Illustrator is that it allows you to edit layers and artwork without permanently altering the original content. Instead of permanently cutting or erasing parts of your design, a clipping mask simply hides the areas outside the mask’s shape. You can adjust the masked content or the mask itself without deleting anything. For designers, this flexibility is essential because it makes experimenting easier and ensures you don’t have to start over if you change your mind later.
- Clean Cropping and Shaping
Masking allows you to crop and shape your artwork with precision, giving your designs a clean and professional finish. Instead of relying on manual cutting or erasing, you can neatly fit images, textures, and objects into any shape, such as a circle or a unique logo form. This not only saves time but also ensures your work looks polished and well-structured, making your final design stand out.
- Flexibility and Control
It gives you the freedom to easily modify the base layer or the content within the mask, allowing full control over individual elements like color, opacity, and size without affecting the rest of the design. This flexibility helps you achieve the exact result you want.
- Stylish Textures and Design Effects
Masking opens up endless possibilities to add textures and photos to fill specific shapes in your design, such as text or logos. This technique is perfect for giving your artwork a unique, artistic touch.
- Productive Workflow
Clipping mask in Adobe Illustrator keeps your content organized within clear boundaries, which streamlines your workflow and makes it faster and easier to apply changes while maintaining consistency across your design.
- Professionalism:
It gives your work a clean, professional look by keeping every design element neatly contained and well-organized.
- Isolation of Elements:
Masking in Adobe Illustrator lets you isolate individual parts of a design onto separate clipped layers, allowing you to make changes to one element without affecting others, which is especially valuable when working on client projects that require frequent revisions.
How to Create a Clipping Mask in Adobe Illustrator (AI) 2025
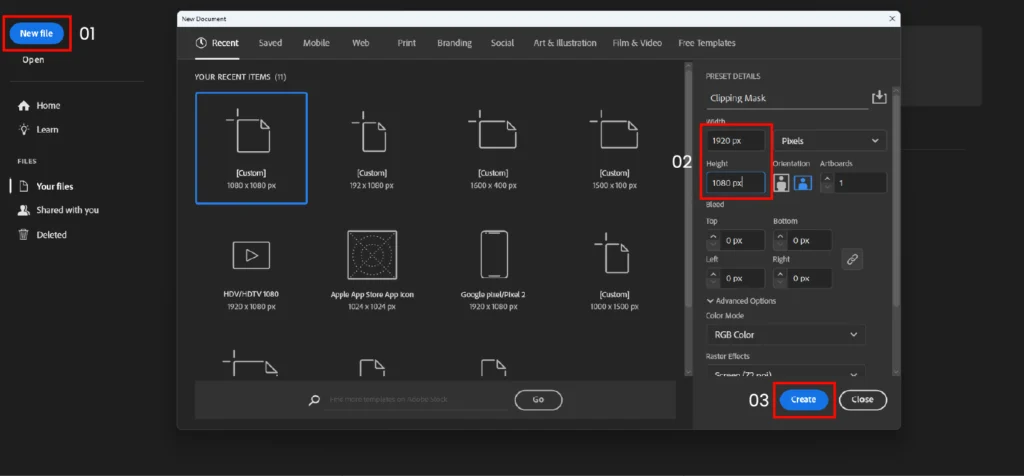
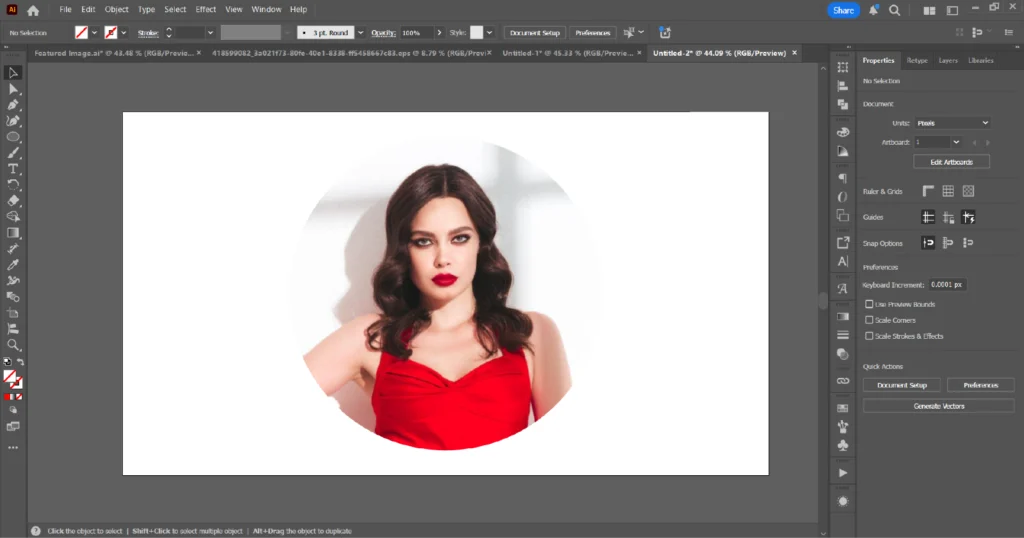
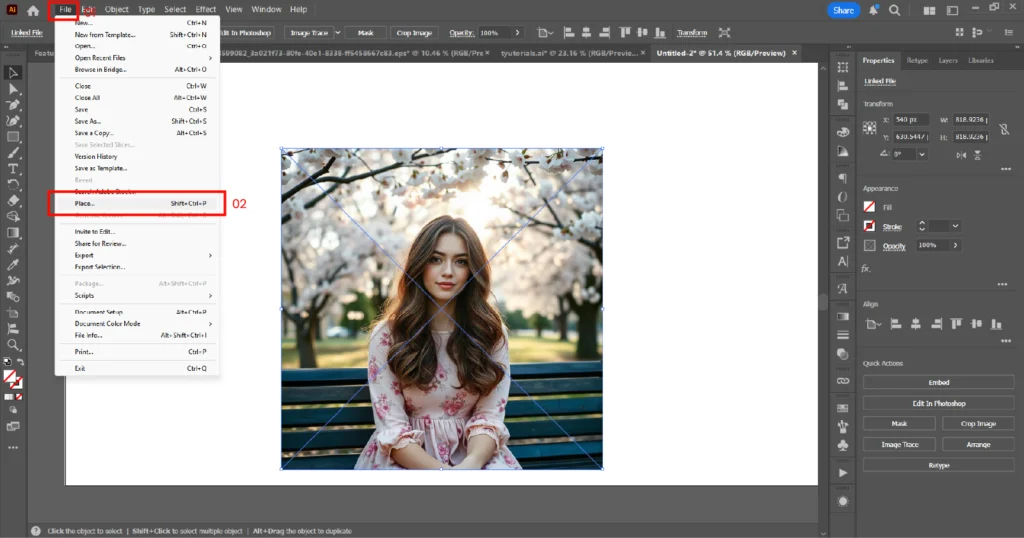
01. Open Adobe Illustrator and create a new document.
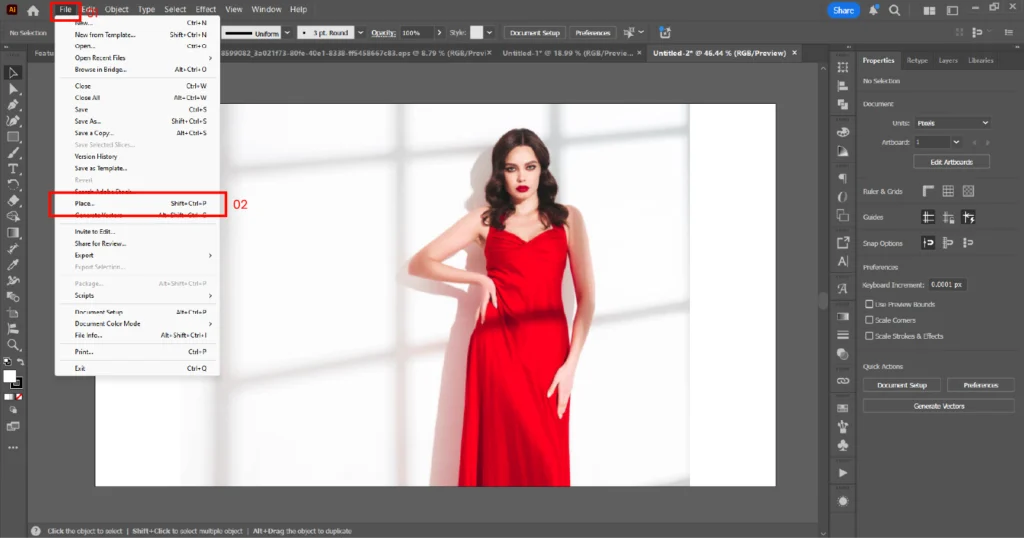
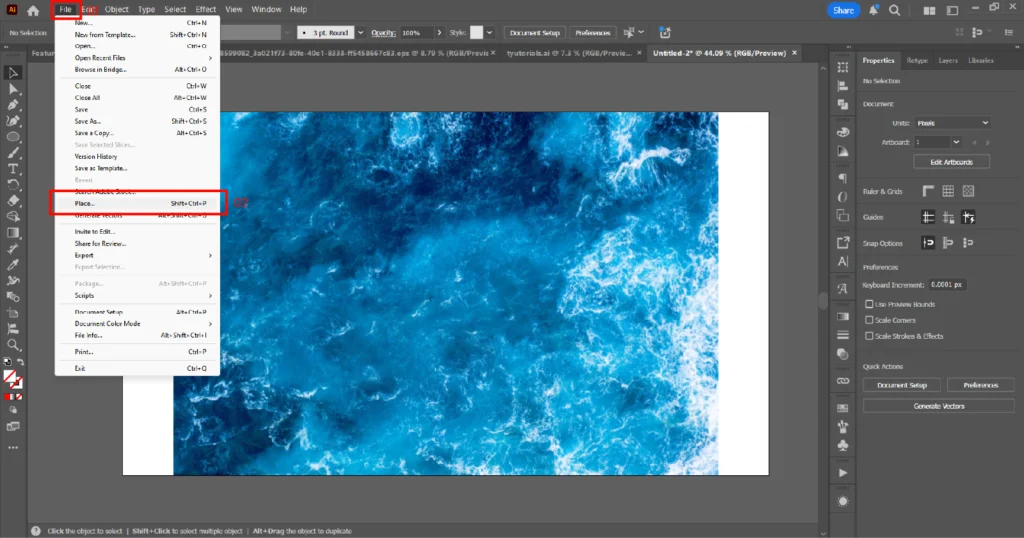
02. Import the image you want to use for the masking (File → Place).
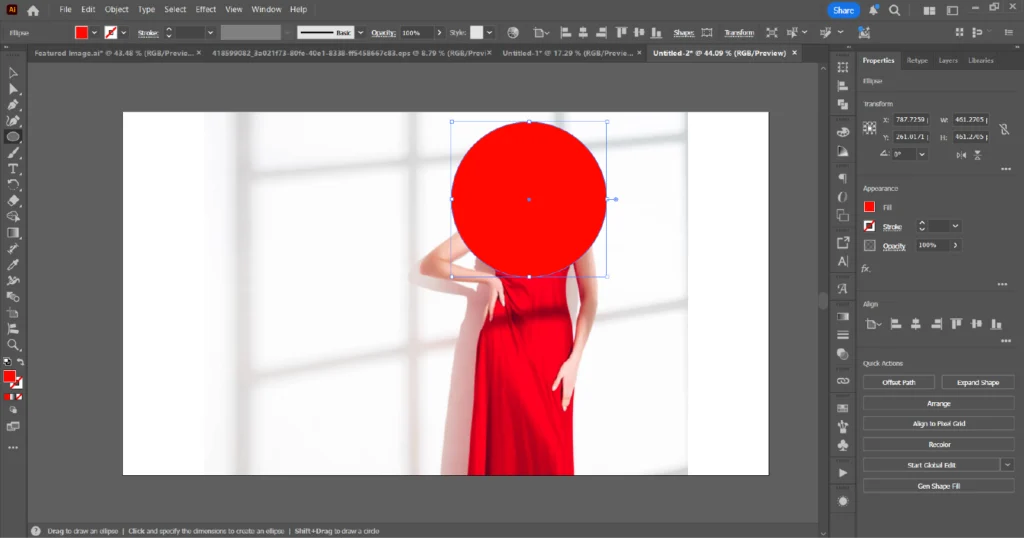
03. Draw a shape on top of the image (this shape will define the visible area).
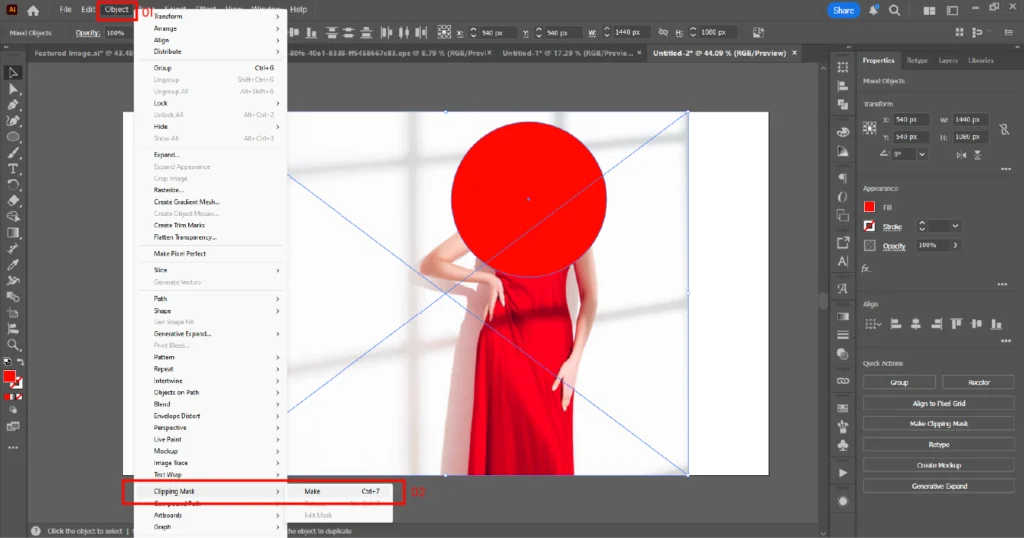
04. Select both the shape and the image and create the mask in one of three ways:
- Object → Clipping Mask → Make
- Right-click and choose Make Clipping Mask
- Shortcut: Ctrl+7 (Windows) / Cmd+7 (Mac)
05. That’s it — your image is now clipped inside the shape.
How To Use Text As A Clipping Mask In Adobe Illustrator
01. Import the image you want to place inside the text (File → Place).
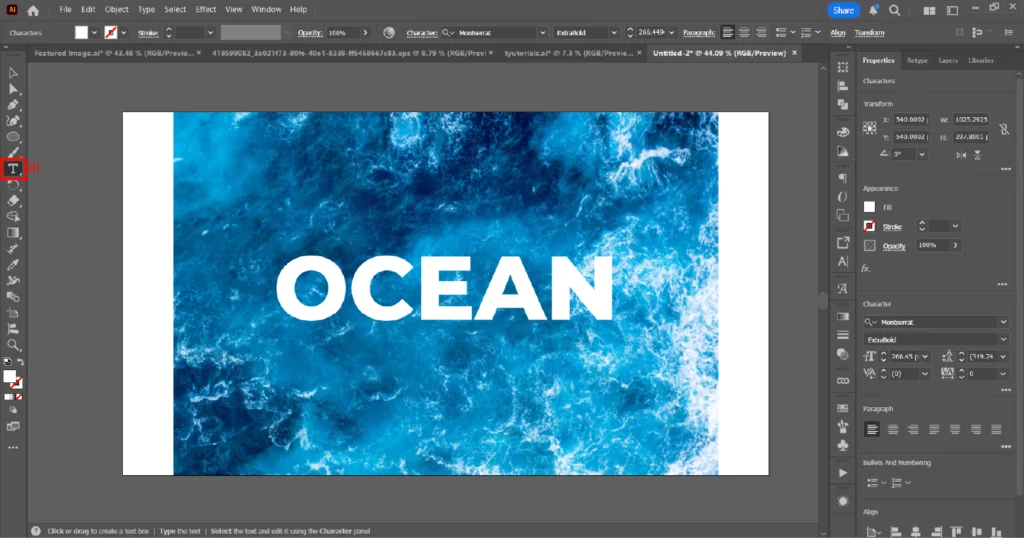
02. Select the Type Tool (T) and type your desired text on top of the image.
03. Select both the text and the image and create the mask in one of three ways:
- Object → Clipping Mask → Make
- Right-click and choose Make Clipping Mask
- Shortcut: Ctrl+7 (Windows) / Cmd+7 (Mac)
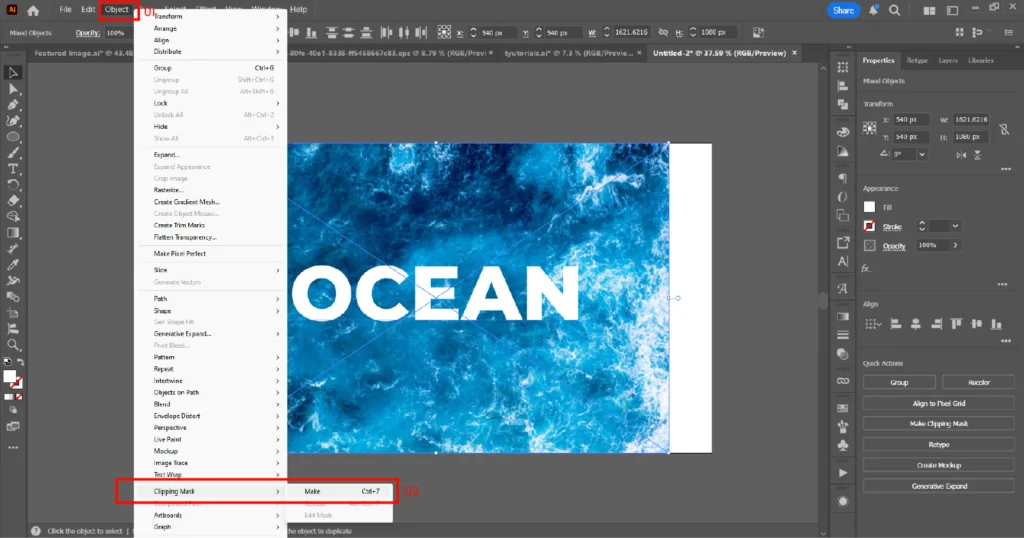
04. Your image will now appear inside the text.

To edit the text later, simply double-click on it or use the Type Tool (T) to make adjustments without recreating the entire mask. For best results, use bold, strong fonts that enhance visibility. If you are working with an older version of Adobe Illustrator, you’ll first need to convert the text into a vector object by right-clicking and selecting Create Outlines. Afterward, convert the text into a compound path before applying the mask. Keep in mind that once the text is converted into a vector object, it can no longer be edited as live text.
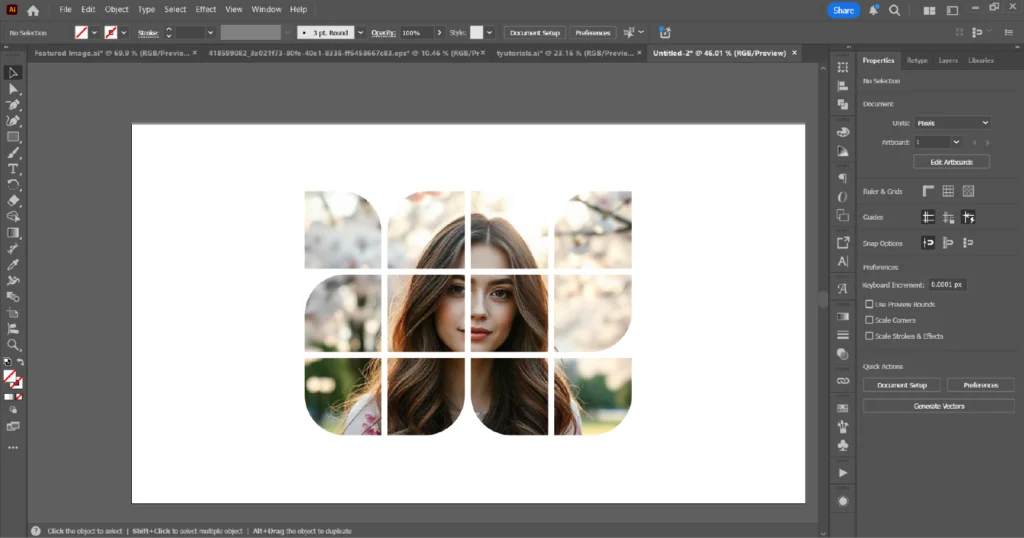
Masking an Image with Multiple Shapes
01. Import the image into Adobe Illustrator (File → Place).
02. Draw multiple shapes on top of the image as desired.
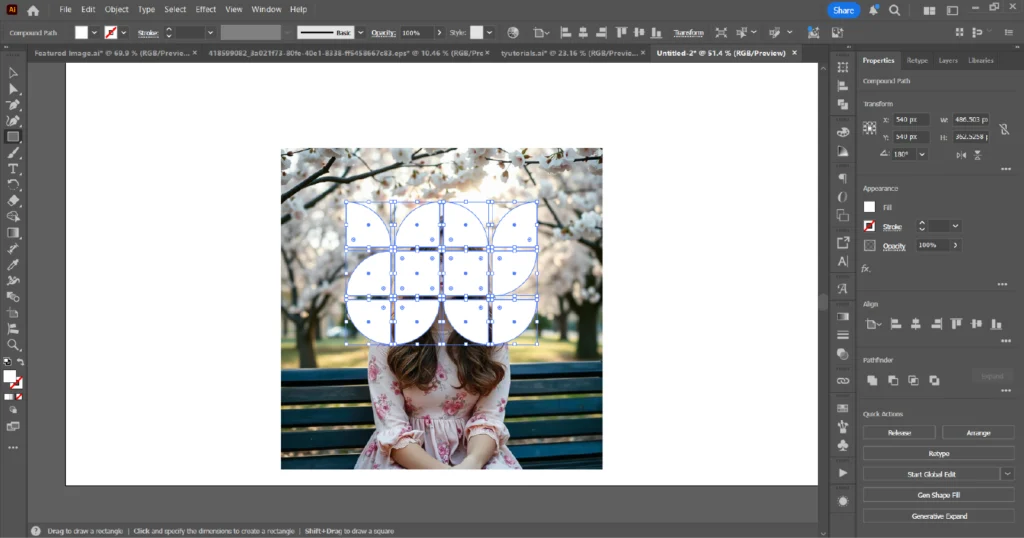
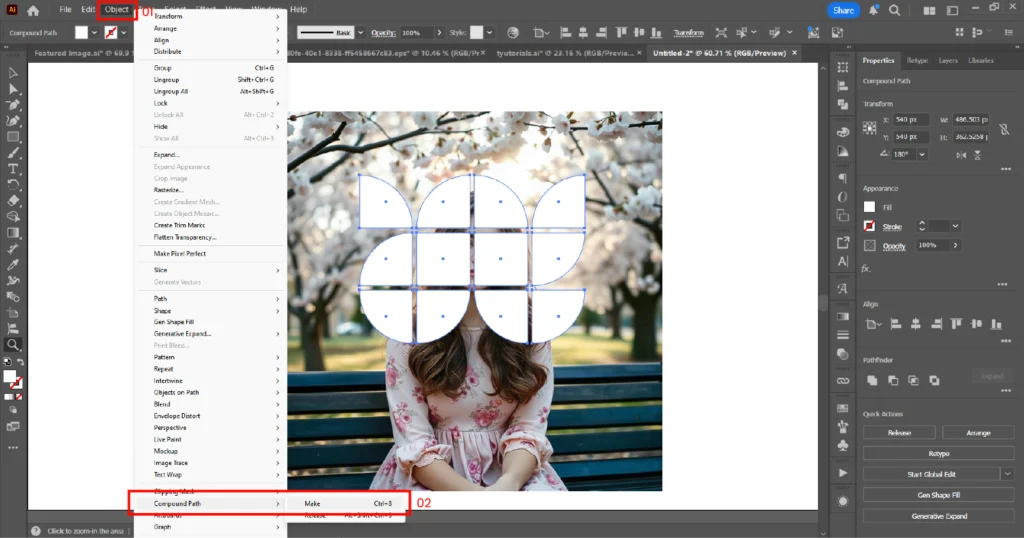
03. Convert the shapes into a compound path by selecting them and choosing Object → Compound Path → Make (shortcut: Windows – Ctrl+8 / Mac – Cmd+8).
04. Select both the compound path (shapes) and the image. Create the masking using one of these methods:
- Object → Clipping Mask → Make
- Right-click and choose Make Clipping Mask
- Shortcut: Ctrl+7 (Windows) / Cmd+7 (Mac)
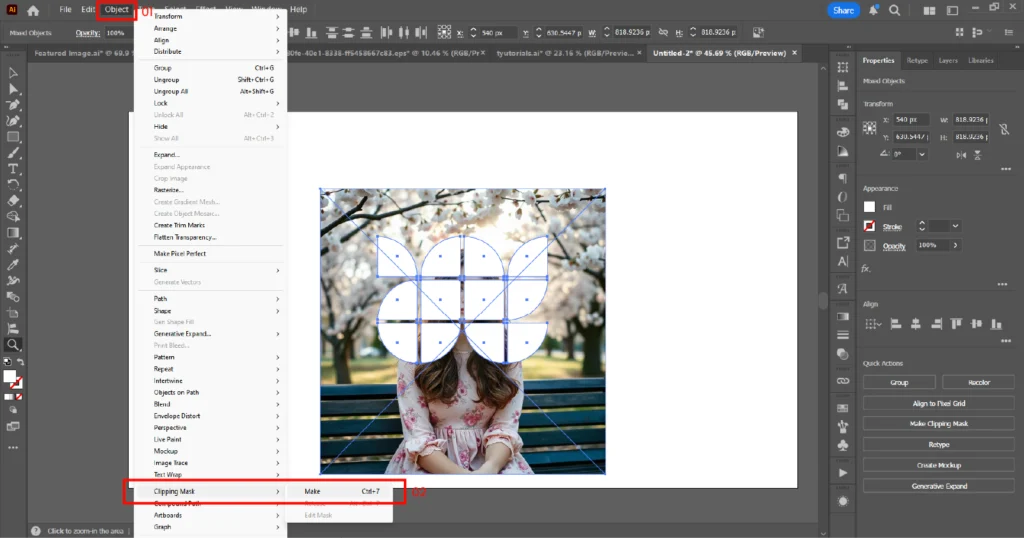
05. The image will now appear inside all the shapes at once.
How to Edit the Clipping Mask or the Content?
To edit a clipping mask in Adobe Illustrator, double-click the clipped object to enter Isolation Mode, which lets you edit either the mask or its content separately. You can also select the object and choose Object → Clipping Mask → Edit Mask. After making changes, click outside the object or use the top bar to exit Isolation Mode. To remove the mask, select the clipped object and either right-click → Release Clipping Mask, go to Object → Clipping Mask → Release, or use the shortcut Alt+Ctrl+7 (Windows) / Option+Cmd+7 (Mac).
Tips for Working with Clipping Mask in Adobe Illustrator
- Keep the Mask on Top – Always make sure the masking shape sits above the content you want to clip.
- Use Simple Shapes – Masks work best with simple vector shapes; too many anchor points can slow down editing.
- Group Before Masking – If you want to clip multiple objects, group them first, then apply the mask.
- Use Compound Paths for Multiple Shapes – Combine shapes into a compound path to apply one mask across several areas.
- Remember the Shortcut – Use Ctrl+7 (Windows) or Cmd+7 (Mac) for a faster workflow.
- Release When Needed – If you need to make changes, right-click and select Release Clipping Mask to edit the artwork freely.
- Check Layers Panel – Masks can be tricky; use the Layers panel to see how objects are nested.
Clipping Mask vs. Opacity Mask: What’s the Difference?
A clipping mask in Adobe Illustrator works by restricting the visible area of an object to the shape of a vector path, essentially cropping the artwork to that shape. It always creates hard, sharp edges with no gradual changes in transparency. It relies on a vector shape, such as a filled path, to define its boundaries. This makes clipping masks ideal for cutting artwork into specific geometric shapes or creating clean, well-defined frames in a design.
An opacity mask in Illustrator controls the transparency of an object’s area using grayscale values. Unlike clipping masks, opacity masks allow for soft edges and varying levels of transparency, where lighter areas reveal more of the object and darker areas hide it. The mask content can be a grayscale image, gradient, or any vector artwork with different tones. This makes opacity masks perfect for creating blending effects such as fading out an image, applying textured patterns with partial transparency, or achieving complex, soft visual effects.
The key difference between a clipping mask and an opacity (transparency) mask is how they control visibility. A clipping mask uses a vector shape to define a hard boundary, showing only the artwork inside its path with sharp edges. An opacity mask, on the other hand, uses gradients, grayscale images, or artwork to control transparency, allowing for soft edges and smooth fades.
Key Takeaways
- The top object in a layer or group becomes the mask for everything beneath it.
- Any artwork can be masked, but only vector shapes can act as the mask.
- When you create a clipping mask in Adobe Illustrator, its fill and stroke are automatically removed.
- Masked objects are grouped under the clipping mask in the Layers panel.
Clipping mask in Adobe Illustrator (AI) are one of the simplest yet most powerful tools for creating clean, professional designs. From non-destructive editing to precise cropping, text effects, and multi-shape masking, they give you the flexibility and control to experiment without losing your original artwork. Whether you’re a beginner just learning the basics or an experienced designer refining your workflow, mastering clipping masks will save you time and open up endless creative possibilities.
Keep practicing with different shapes, images, and text to make the most of this feature—and soon it will become a natural part of your design process. As you explore more combinations, you’ll discover new ways to crop visuals, add creative textures, and experiment with typography. Over time, this technique will not only speed up your workflow but also expand your design toolkit, giving you greater confidence when working on both client projects and personal artwork. The more you experiment, the easier it becomes to adapt this tool to suit any style or creative direction.
We hope this guide covered everything you need to know about clipping mask in Adobe Illustrator. If you still have questions, feel free to leave a comment or send us a message — we’d be happy to help.